I first tried making air fryer chicken sausage and veggies when I had ten minutes between meetings and a fridge full of produce; the focus was speed, not shortcuts, and the result surprised me. The air fryer chicken sausage cooks fast, browns nicely, and the right vegetable choices plus a quick toss keep everything crisp-tender—I’ll show you exactly how to get that in 10 minutes every time.
Why this air fryer chicken sausage recipe works
The key technique is high, dry heat and staging: par-cooking dense vegetables and arranging similar-thickness pieces so everything finishes together. I use a 400°F starting temperature to build surface caramelization on the sausage and vegetables while avoiding steam buildup that causes sogginess. The ratio I settled on during testing—about 3 ounces of sausage per serving and roughly equal parts pepper, onion, and zucchini—keeps the pan crowded enough for flavor but loose enough for crisping. What changed during testing was twofold: I initially tossed everything straight into the basket and ended up with soft, watery peppers; the fix was patting vegetables dry and giving the sausage a 2-minute head start. The final method is reliable for beginners and fits the Efficient Everyday Recipes style by being explicit about timing, temperature, and staging.
Key takeaways
- High heat (400°F) and a brief head-start for sausage prevent undercooking.
- Dry vegetables and uniform cuts keep them crisp-tender, not soggy.
- Ten realistic active minutes; have a simple mise en place ready for success.
Ingredients you’ll need and what to substitute
This recipe relies on store-bought fully cooked or raw chicken sausage—check your package and adjust time if the sausages are pre-cooked (reduce final cook time by 2–3 minutes). I prefer sweet or mild chicken sausages for broad appeal, but spicy or herb varieties also work. For vegetables I use a mix that cooks quickly: bell peppers, red onion, and zucchini. These hold texture and caramelize without long roasting. If you only have potatoes or carrots, par-boil them for 5–7 minutes first, or cut them very thin so they cook through in the 10-minute window.
Realistic substitutions: swap zucchini for yellow summer squash (no time change), use frozen bell pepper strips (thaw and pat dry first), or replace the onion with shallot for a milder flavor. A budget-friendly option is to buy bulk link sausages and slice them; trimming off casings is unnecessary unless your brand specifies. Use a neutral oil with a high smoke point (canola or avocado) if you prefer over olive oil; the difference is subtle but matters at 400°F.
Equipment
You only need an air fryer with at least a 3-quart basket to make this recipe for 2–3 people without overcrowding; a 5.8-quart model lets you cook for 4 easily. I tested this in a standard 3.7-quart basket-style air fryer and a 6-quart drawer model—both work if you avoid piling ingredients. A rimmed sheet or a mixing bowl is helpful for tossing, and kitchen tongs keep your hands away from the hot basket. If you don’t have an air fryer, a 450°F oven on a rimmed sheet for 12–15 minutes with a quick broil at the end is the fallback, but timing will differ.
How to make air fryer chicken sausage and veggies
Mise en place (2–3 minutes)
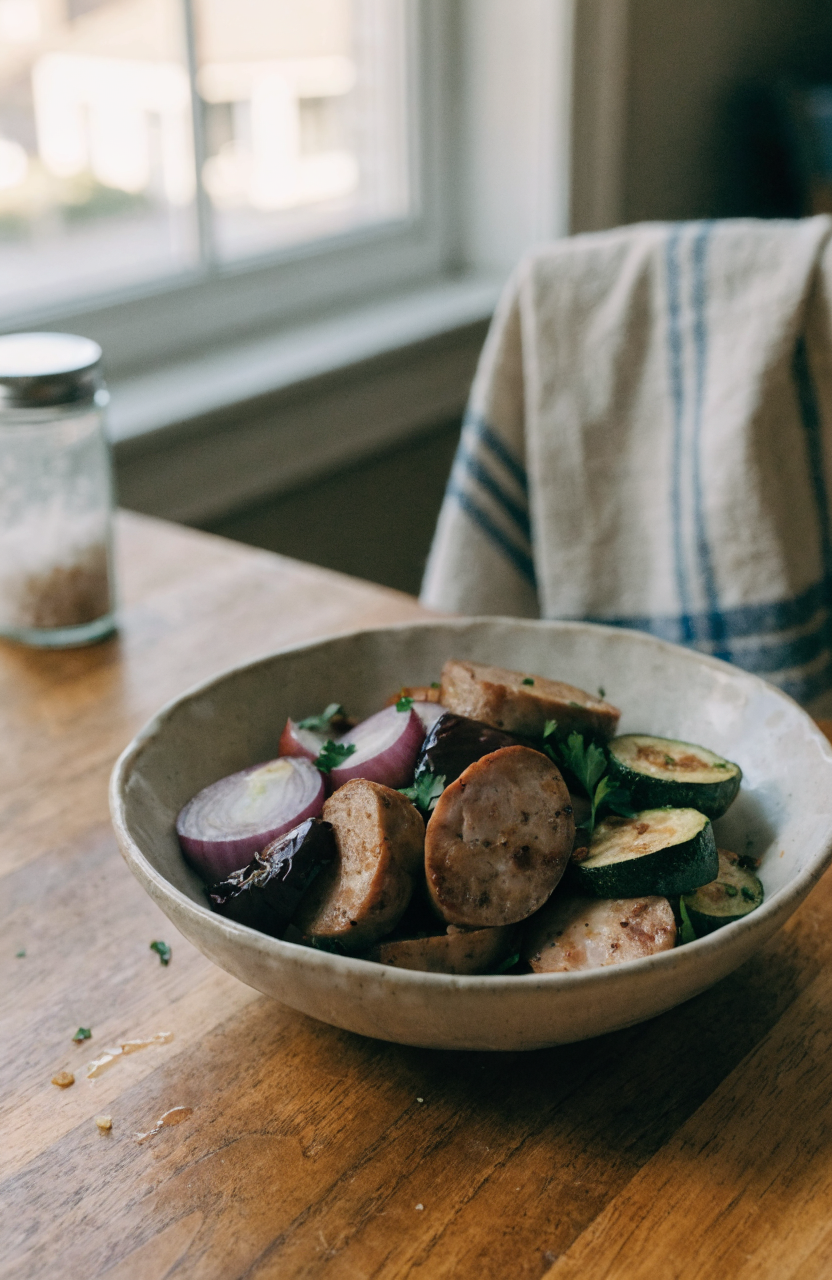
Start by preheating the air fryer to 400°F for about three minutes; this short preheat gives an immediate sear. While it preheats, slice two chicken sausages into 1/2-inch pieces so they cook quickly and expose more surface for browning. Cut a medium bell pepper and a small red onion into 1/2-inch pieces and slice one medium zucchini into 1/2-inch half-moons. Pat all fresh veggies dry on a clean kitchen towel or paper towel—this step eliminates surface moisture that creates steam and sogginess. Toss the vegetables with 1 tablespoon oil, 1/2 teaspoon kosher salt, 1/4 teaspoon black pepper, and 1/2 teaspoon smoked paprika (optional) in a bowl.
Head-start and main cook (7–8 minutes)
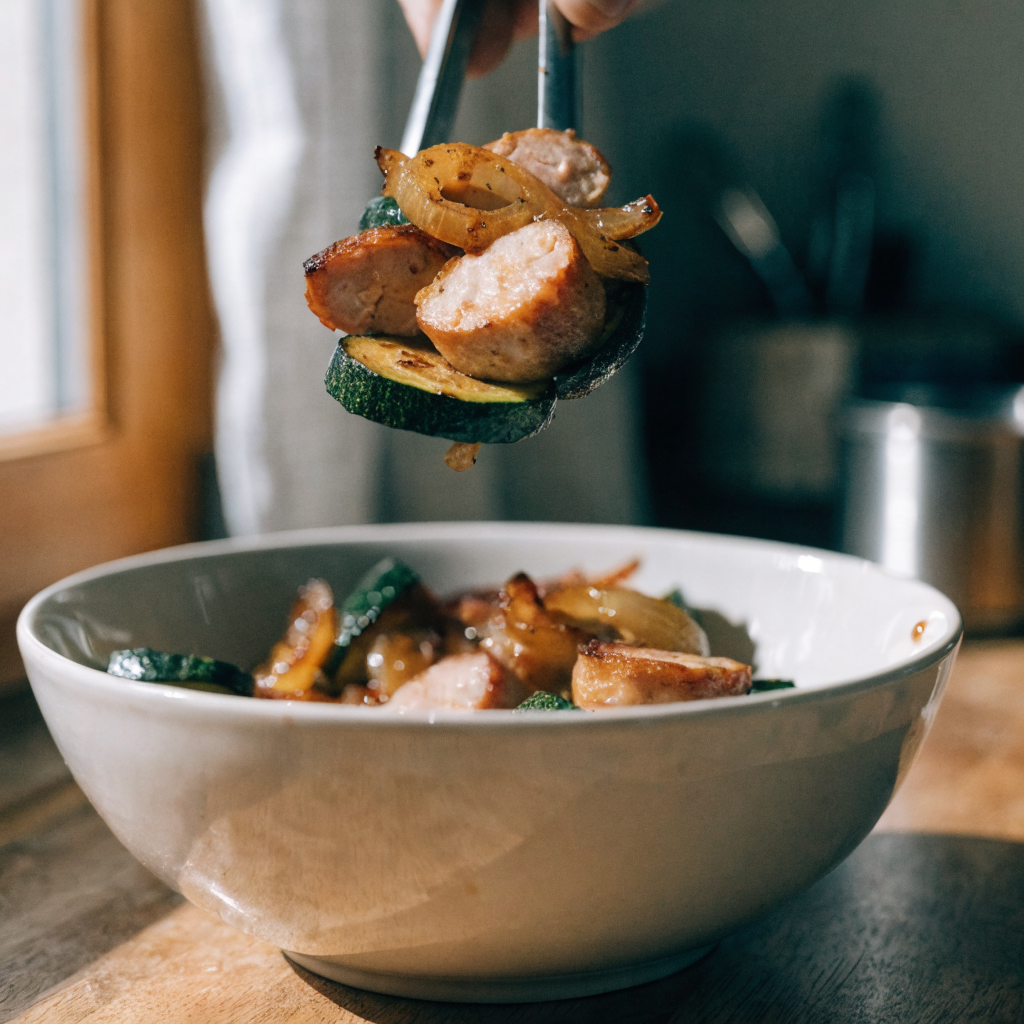
Place the sliced sausage in a single layer in the air fryer basket and cook at 400°F for 2 minutes to begin browning—this jumpstart ensures the sausage pieces sear rather than steam. After 2 minutes, add the tossed vegetables to the basket in a single layer as much as the basket allows; if your basket is small, cook in two quick batches to avoid overcrowding. Shake the basket or use tongs to toss the contents and continue cooking at 400°F for another 6 minutes. At the 3-minute mark during this period, give the basket a vigorous shake or flip pieces with tongs so all sides brown evenly.
Finish and check doneness (1–2 minutes)
After a total of about 9–10 minutes from the start of cooking, check the largest vegetable pieces: they should be tender with browned edges and the sausage should have a golden crust. If your sausage package is labeled pre-cooked, expect a bit faster browning—remove earlier to avoid drying. Use an instant-read thermometer if cooking raw sausage: each slice should reach 165°F when thickest. If anything needs extra time, add 1–2 minutes in 1-minute increments; be careful not to overcook the zucchini, which becomes mushy quickly.
Things I learned the hard way
- Dry before oiling: Wet vegetables create steam. Patting them dry makes a real difference in crispness.
- Sausage head-start: I originally cooked everything together and ended up with pale sausage. Giving links a 2-minute head start solves that without overcooking the veggies.
- Uniform pieces: Slice everything to the same thickness—1/2-inch—so they finish together.
- Avoid overcrowding: Too many pieces steam instead of brown; cook in two batches when necessary.
- Watch zucchini timing: It goes from crisp-tender to mush quickly; add it halfway through if you prefer firmer texture.
- First-time failure: My first attempt used frozen pepper strips straight from the bag and they released water. Thawing and patting dry fixed it.
Variations to try
Spicy twist: Use spicy chicken sausage, add 1/4 teaspoon cayenne, and finish with a squeeze of lime; no timing change for fresh ingredients. Mediterranean style: Swap zucchini for eggplant (slice thinner) and toss with 1/2 teaspoon dried oregano and 1 tablespoon crumbled feta after cooking; eggplant may need an extra 1–2 minutes. Sheet-pan oven version: Spread on a rimmed sheet and roast at 450°F for 12–15 minutes, flipping once; expect slightly longer total time. Add a grain: Serve over quick-cooked couscous or microwaveable brown rice and drizzle with a lemon-herb vinaigrette—no timing change for the air fryer.
Storage, freezing, and reheating
Refrigerate cooked leftovers in an airtight container for up to 3 days. To reheat, spread leftovers in the air fryer basket and heat at 350°F for 3–5 minutes until warmed and edges crisp back up; you can also reheat in a skillet over medium for 3–4 minutes. Freezing is possible but texture will change—slice and freeze cooked sausage mixed with vegetables in a shallow container for up to 2 months; thaw overnight in the refrigerator and re-crisp in the air fryer at 350°F for 6–8 minutes. Note that zucchini softens after freezing and reheating, so frozen portions are best used in a grain bowl or soup where texture loss is acceptable.
What to serve with air fryer chicken sausage and veggies
Serve this on a bed of microwaved brown rice or cauliflower rice for a quick bowl; spoon over tossed greens for an easy warm salad; or tuck into warmed flatbreads with a smear of hummus and a drizzle of yogurt sauce. For family dinners, pair with a simple green salad, roasted sweet potatoes, or a pot of quick-cooked quinoa.
10-Minute Air Fryer Chicken Sausage and Veggies
Ingredients
Equipment
Method
- Preheat the air fryer to 400°F for about 3 minutes while you slice the sausage and vegetables into uniform 1/2-inch pieces; pat all fresh vegetables dry on a towel.
- In a mixing bowl, toss the bell pepper, red onion, and zucchini with 1 tablespoon olive oil, 1/2 teaspoon kosher salt, 1/4 teaspoon black pepper, and 1/2 teaspoon smoked paprika if using.
- Arrange the sliced chicken sausage in a single layer in the air fryer basket and cook at 400°F for 2 minutes to begin browning.
- Add the tossed vegetables to the basket without overcrowding; shake or use tongs to mix so sausage and vegetables are in a single layer, then air fry at 400°F for 6 more minutes, shaking or flipping once at about the 3-minute mark.
- Check for doneness at about 9–10 total minutes: vegetables should be crisp-tender with browned edges and sausage should be golden; for raw sausage confirm 165°F internal temperature and add 1–2 minutes if needed.
- Transfer to a serving dish, garnish with chopped parsley if desired, and serve immediately with rice, flatbreads, or a salad.
Notes
Frequently asked questions
Can I use pre-cooked chicken sausage? Yes—pre-cooked sausage needs less time, so reduce total air frying by 2–3 minutes and watch for browning to avoid drying out. If the package says fully cooked, aim for crisping rather than cooking through.
Can I make this for four people in one basket? It depends on basket size; a 6-quart drawer-style air fryer can handle four servings in a single batch, but a 3-quart basket usually requires two batches to avoid overcrowding and steaming.
Why are my vegetables soggy? Sogginess usually comes from excess moisture or overcrowding. Pat veggies dry, cut them evenly, and avoid packing the basket. If using frozen vegetables, thaw and pat dry first.
Can I swap in root vegetables like potatoes? Yes, but they need par-cooking: boil or microwave small diced potatoes for 5–7 minutes until just tender, then air fry with the sausage for 6–8 minutes to brown.
How do I know the sausage is safe to eat? For raw chicken sausage, check with an instant-read thermometer—slices should reach 165°F. For pre-cooked sausage, heat until warmed through and browned to your preference.
Can I double the recipe and freeze portions? Yes, you can double and freeze in single-meal portions, but expect a texture change in zucchini when reheated after freezing; use frozen portions mainly in mixed bowls or reheated dishes.
Closing
This air fryer chicken sausage and veggies method delivers a crisp-tender, flavorful plate in about 10 minutes of active cooking time when you follow the staging, drying, and slicing details—it’s a dependable go-to on busy weeknights that I still reach for whenever time is tight.


Leave a Reply